That setup works really well, but there was one part I wasn't particularly happy with: deploying a new version still meant logging into the server and running the same commands manually every time.
A typical deployment looked something like this:
ssh deploy@myserver

cd /var/www/myproject

git pull

source venv/bin/activate

pip install -r requirements.txt

python manage.py migrate
python manage.py collectstatic --noinput

sudo supervisorctl restart myproject
There's nothing technically wrong with doing this, and I've deployed a lot of Django projects exactly like that. But after doing it for the hundredth time, it gets a little boring. It's also surprisingly easy to forget one of the steps, especially when different projects have slightly different deployment routines.
So this time we're going to automate the whole thing. Instead of SSHing into the server and running everything manually, I want to be able to sit on my computer and run:
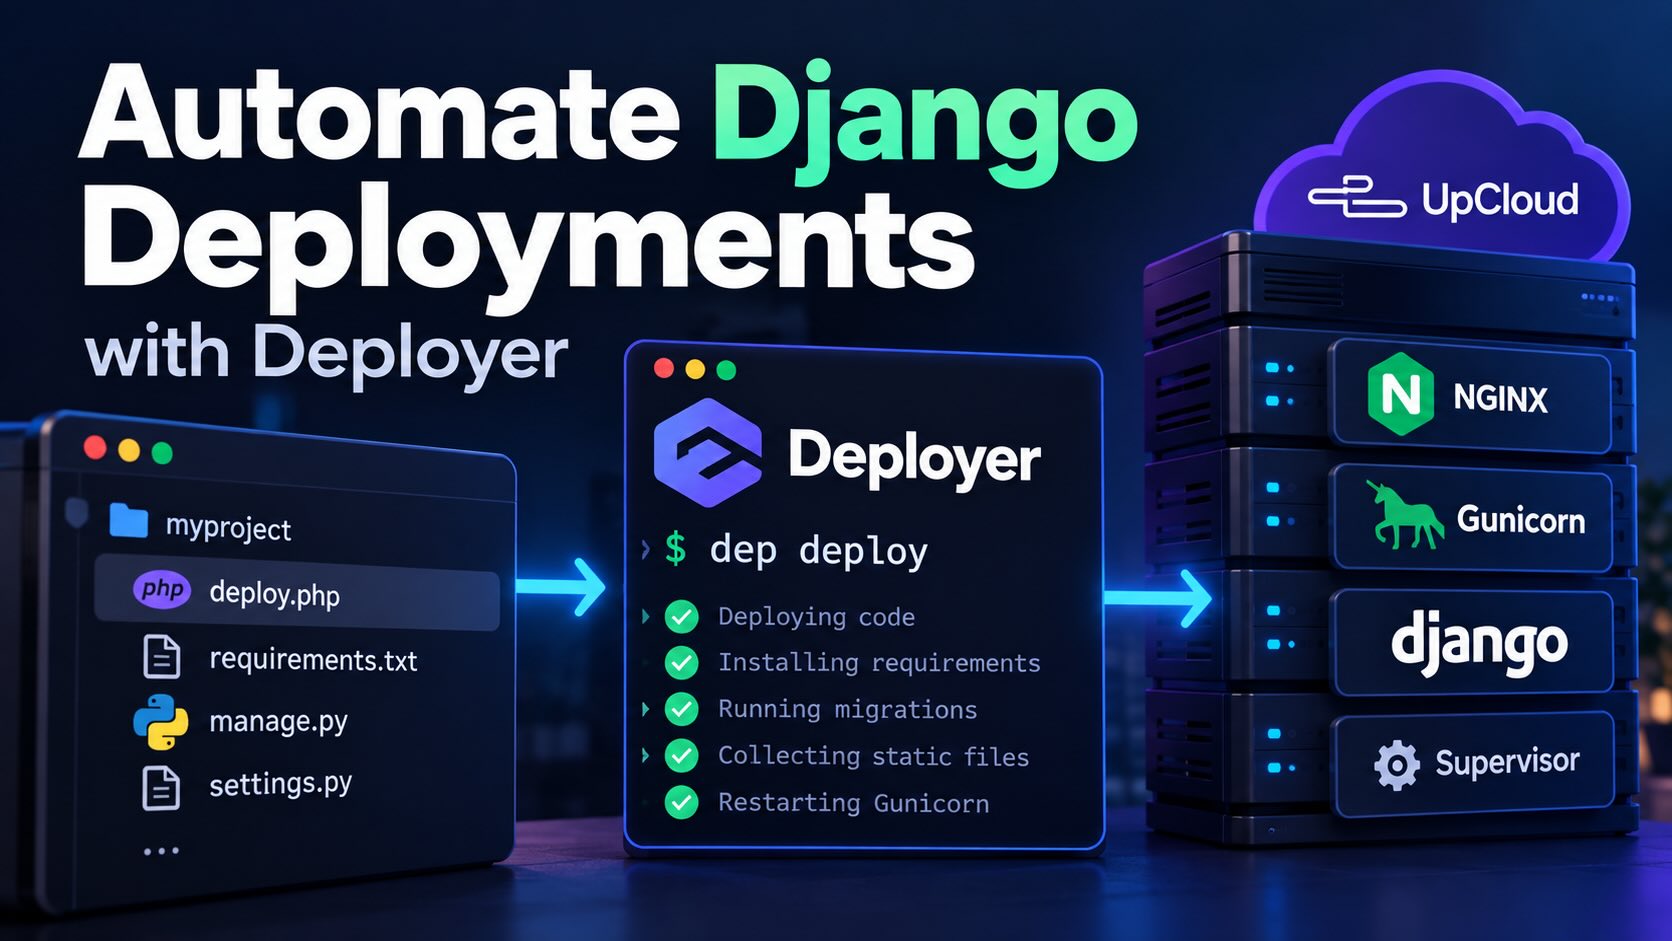
dep deployThat's it. Deployer will connect to the server, download the latest code, create a virtual environment, install our Python requirements, run Django's checks, run migrations, collect static files, switch the website to the new release and restart Gunicorn. If I deploy something that doesn't work, we'll also have a much nicer way to roll back to the previous release.
What is Deployer?
Deployer is a deployment tool that connects to your server using SSH and runs a series of tasks. It's actually written in PHP, which might sound a little strange in a Django tutorial, but Deployer isn't limited to PHP applications.
At the end of the day, it's really good at the things we need for a deployment system: connecting to servers, cloning Git repositories, creating releases, running shell commands, managing shared files, switching symbolic links and rolling back deployments.
We can define our own tasks, which means there's nothing stopping us from telling Deployer to run:
python manage.py migrateInstead of something PHP-specific like:
php artisan migrateThat's basically what we're going to do.
The server
I'm going to use UpCloud for the server again. If you sign up using my affiliate link, you can get $250 in free credits that you can use while testing your Django deployment.
Disclosure: The link above is an affiliate link, which means I may receive a commission if you become an UpCloud customer through it.
If you followed my previous Django deployment article, most of the server setup is already done. We still want Ubuntu, Nginx, Supervisor, Git, Python and the packages required for creating Python virtual environments.
On a fresh Ubuntu server, that might look something like this:
sudo apt update
sudo apt upgrade -y

sudo apt install -y \
    nginx \
    supervisor \
    git \
    python3 \
    python3-pip \
    python3-venv \
    python3-dev \
    build-essential
If your project uses PostgreSQL packages that need to be compiled, you may also need:
sudo apt install -y libpq-devI'm not going to repeat the entire Nginx, firewall, SSL and database setup from the previous article. This article is mostly about changing how we deploy the application.
Create a deployment user
I still don't want my application running as root, so let's create a user specifically for deployments:
sudo adduser deployThen create the directory where Deployer will store everything:
sudo mkdir -p /var/www/myproject
sudo chown -R deploy:deploy /var/www/myproject
You'll also want SSH key authentication working for this user. From your own computer, you should eventually be able to run:
ssh deploy@project-one.comWithout entering the server password every time. Deployer is going to use that same SSH connection.
The new directory structure
This is where the setup starts to look different from the previous article. Before, our project might have lived directly inside:
/var/www/myproject/With Deployer, we're going to end up with something more like:
/var/www/myproject/
    current -> releases/5

    releases/
        1/
        2/
        3/
        4/
        5/

    shared/
        .env
        media/

    .dep/
Each deployment gets its own release directory, while the current symbolic link points to the release that's currently live. That means Nginx and Supervisor don't need to know which release we're running. They always use:
/var/www/myproject/currentDeployer simply changes where current points when a new release is ready. I like this a lot more than running git pull directly inside the live application directory.
Shared files
Some files shouldn't belong to one particular release. The obvious example is uploaded media. If a user uploads an image today, I definitely don't want that image disappearing the next time I deploy. The same thing applies to our environment file.
So we'll keep these in:
/var/www/myproject/shared/Create them now:
sudo -u deploy mkdir -p /var/www/myproject/shared/media
sudo -u deploy touch /var/www/myproject/shared/.env
Then put your production environment variables inside:
sudo -u deploy nano /var/www/myproject/shared/.envSomething like:
DEBUG=False
SECRET_KEY=your-secret-key
DATABASE_URL=postgresql://...
Your exact setup depends on how your Django project loads environment variables. And obviously, don't commit this file to Git.
Installing Deployer
Deployer runs on your computer. It doesn't need to become part of your Django application, but you do need PHP locally because Deployer itself is written in PHP.
If you already have Composer installed, you can install Deployer globally with:
composer global require deployer/deployerThen check that it works:
dep --versionYou can also install Deployer inside the project if you want the project to pin a specific Deployer version. That becomes particularly useful later if you move deployment into CI/CD. For this tutorial, I'm going to assume the dep command is available globally.
Creating deploy.php
Now we get to the interesting part. In the root of the Django project, create:
deploy.phpThis file describes how our application should be deployed. Let's start with a very small version:
<?php

namespace Deployer;

require 'recipe/common.php';

set('application', 'myproject');

set(
    'repository',
    'git@github.com:yourusername/myproject.git'
);

set('keep_releases', 5);

host('project-one.com')
    ->set('remote_user', 'deploy')
    ->set('deploy_path', '/var/www/myproject')
    ->set('branch', 'main');
There isn't anything Django-specific here yet. We're telling Deployer which Git repository to use, which server to connect to, which user to connect as and where the application should be deployed. I'm also telling it to keep five releases, because there's usually no reason for me to keep dozens of old deployments sitting on a small server.
Give the server access to Git
There's one thing that's easy to miss here. The server needs permission to read your Git repository. If the repository is private, logging in to GitHub on your laptop doesn't magically give your server access.
I normally create a deployment SSH key for the server and add the public key as a deploy key for the repository. Then I test it while logged in as the deployment user:
ssh deploy@project-one.comAnd then:
git ls-remote git@github.com:yourusername/myproject.gitIf that command can read the repository, Deployer should be able to as well.
Tell Deployer about our shared files
Now let's add the environment file and media directory:
add('shared_files', [
    '.env',
]);

add('shared_dirs', [
    'media',
]);
For every new release, Deployer will make these point back to the versions inside the shared directory. So a release might look like:
releases/5/
    .env -> ../../shared/.env
    media/ -> ../../shared/media/
    manage.py
    config/
    myapp/
    ...
Now uploaded files and production configuration survive across deployments.
Creating a virtual environment for every release
Next we need Python. I want every release to have its own virtual environment. We could have one shared virtual environment for every deployment, and that would save some disk space, but I prefer keeping the Python environment together with the release.
Imagine version 5 installs a new package. Then I discover a problem and roll back to version 4. If both releases share the same virtual environment, version 4 might now be running with dependencies that belong to version 5. I'd rather avoid that.
Add this task:
task('python:venv', function () {
    run(
        'python3 -m venv {{release_path}}/.venv'
    );
});
Deployer gives us {{release_path}}, which points to the release currently being built. So if this is release number 5, the command effectively becomes:
python3 -m venv /var/www/myproject/releases/5/.venvInstall the Python requirements
Now let's install our dependencies:
task('python:install', function () {
    run(
        '{{release_path}}/.venv/bin/pip install --upgrade pip'
    );

    run(
        '{{release_path}}/.venv/bin/pip install '
        . '-r {{release_path}}/requirements.txt'
    );
});
Again, all of this happens inside the new release. The currently running website hasn't changed yet, which is an important difference compared with logging into the live directory and running git pull.
Run Django's deployment checks
Before publishing anything, I also want Django to check the configuration:
task('django:check', function () {
    run(
        'cd {{release_path}} && '
        . '{{release_path}}/.venv/bin/python '
        . 'manage.py check --deploy'
    );
});
This doesn't guarantee that the deployment is perfect, but if Django can tell me something is obviously wrong before I switch the website to the new code, I definitely want it to.
Running migrations
Our next task handles database migrations:
task('django:migrate', function () {
    run(
        'cd {{release_path}} && '
        . '{{release_path}}/.venv/bin/python '
        . 'manage.py migrate --noinput'
    );
});
This is basically the exact command I would have run manually. Deployer is just doing it for me now.
There's one thing worth remembering though: code rollbacks are relatively easy, while database rollbacks aren't. If version 5 deletes a database column and I then switch the code back to version 4, version 4 might still expect that column to exist. Deployer can't magically solve that.
For important applications, I try to make production migrations backwards compatible whenever possible.
Collecting static files
We also need to run collectstatic:
task('django:collectstatic', function () {
    run(
        'cd {{release_path}} && '
        . '{{release_path}}/.venv/bin/python '
        . 'manage.py collectstatic --noinput'
    );
});
I'm going to keep the collected static files inside each release, so my Django settings contain something like:
STATIC_URL = "/static/"
STATIC_ROOT = BASE_DIR / "staticfiles"
That way the static files are updated together with the code.
Updating Supervisor
Now Supervisor needs to use the new directory structure. Instead of pointing directly to a permanent virtual environment, we'll point everything at current.
For example:
[program:myproject]
directory=/var/www/myproject/current
command=/var/www/myproject/current/.venv/bin/gunicorn --workers 2 --bind 127.0.0.1:8001 config.wsgi:application
user=deploy
autostart=true
autorestart=true
redirect_stderr=true
stdout_logfile=/var/log/supervisor/myproject.log
stopasgroup=true
killasgroup=true
environment=PYTHONUNBUFFERED="1"
As always, replace:
config.wsgi:applicationWith the correct WSGI module for your Django project.
The useful part is that Supervisor now starts everything from:
/var/www/myproject/currentIt doesn't matter whether current points to release 4, 5 or 27. Supervisor always starts the application from whichever release is currently active.
Letting Deployer restart Supervisor
After switching to the new release, we need to restart Gunicorn. Add another task:
task('supervisor:restart', function () {
    run(
        'sudo /usr/bin/supervisorctl restart myproject'
    );
});
There's a small problem here. Our deploy user normally needs to enter a password when using sudo, and Deployer obviously can't sit there typing the password every time we deploy.
I don't want to give the deployment user unrestricted passwordless sudo either. Instead, we can allow exactly the Supervisor command it needs.
Open:
sudo visudo -f /etc/sudoers.d/myproject-deployAdd:
deploy ALL=(root) NOPASSWD: /usr/bin/supervisorctl restart myprojectNow the deployment user can restart this particular Supervisor process without getting unrestricted root access.
Update Nginx
Nginx also needs to know about the current directory. The relevant parts might look like this:
server {
    listen 80;
    listen [::]:80;

    server_name project-one.com www.project-one.com;

    location /static/ {
        alias /var/www/myproject/current/staticfiles/;
    }

    location /media/ {
        alias /var/www/myproject/shared/media/;
    }

    location / {
        proxy_set_header Host $host;
        proxy_set_header X-Real-IP $remote_addr;
        proxy_set_header X-Forwarded-For $proxy_add_x_forwarded_for;
        proxy_set_header X-Forwarded-Proto $scheme;

        proxy_pass http://127.0.0.1:8001;
    }
}
The uploaded media is stored permanently inside shared, while the static files come from whichever release is currently active.
After changing Nginx, test the configuration:
sudo nginx -tAnd reload it:
sudo systemctl reload nginxPutting the deployment together
We now have all the pieces, so let's create the actual deployment task:
task('deploy', [
    'deploy:prepare',

    'python:venv',
    'python:install',

    'django:check',
    'django:migrate',
    'django:collectstatic',

    'deploy:publish',

    'supervisor:restart',
]);
This is the part I like about Deployer. The deployment becomes extremely easy to read: prepare a release, create Python, install dependencies, check Django, run migrations, collect static files, publish the release and restart the application.
That's basically what I was doing manually anyway. I've just written it down once.
Unlock failed deployments
Deployer locks deployments while they're running so you don't accidentally have two deployments modifying things at the same time. If something fails, I want that lock cleaned up.
Add:
after('deploy:failed', 'deploy:unlock');Now a failed deployment doesn't leave us permanently locked out of the next one.
Our complete deploy.php
Putting everything together, we end up with something like this:
<?php

namespace Deployer;

require 'recipe/common.php';


set('application', 'myproject');

set(
    'repository',
    'git@github.com:yourusername/myproject.git'
);

set('keep_releases', 5);


add('shared_files', [
    '.env',
]);

add('shared_dirs', [
    'media',
]);


host('project-one.com')
    ->set('remote_user', 'deploy')
    ->set('deploy_path', '/var/www/myproject')
    ->set('branch', 'main');


task('python:venv', function () {
    run(
        'python3 -m venv {{release_path}}/.venv'
    );
});


task('python:install', function () {
    run(
        '{{release_path}}/.venv/bin/pip install --upgrade pip'
    );

    run(
        '{{release_path}}/.venv/bin/pip install '
        . '-r {{release_path}}/requirements.txt'
    );
});


task('django:check', function () {
    run(
        'cd {{release_path}} && '
        . '{{release_path}}/.venv/bin/python '
        . 'manage.py check --deploy'
    );
});


task('django:migrate', function () {
    run(
        'cd {{release_path}} && '
        . '{{release_path}}/.venv/bin/python '
        . 'manage.py migrate --noinput'
    );
});


task('django:collectstatic', function () {
    run(
        'cd {{release_path}} && '
        . '{{release_path}}/.venv/bin/python '
        . 'manage.py collectstatic --noinput'
    );
});


task('supervisor:restart', function () {
    run(
        'sudo /usr/bin/supervisorctl restart myproject'
    );
});


task('deploy', [
    'deploy:prepare',

    'python:venv',
    'python:install',

    'django:check',
    'django:migrate',
    'django:collectstatic',

    'deploy:publish',

    'supervisor:restart',
]);


after('deploy:failed', 'deploy:unlock');

after('rollback', 'supervisor:restart');
Obviously you'll need to change the repository, domain, project name and WSGI configuration for your own project, but this is a pretty good starting point.
The first deployment
Now comes the fun part. From your computer, inside the Django project, run:
dep deployDeployer connects to the server and starts going through the tasks. If everything works, you'll eventually have something similar to:
/var/www/myproject/
    current -> releases/1

    releases/
        1/
            .venv/
            manage.py
            staticfiles/
            ...

    shared/
        .env
        media/
Your first automated deployment is now live.
Deploying the next version
Now let's say I make a few changes to the Django project. I commit them:
git add .
git commit -m "Add new feature"
git push
Then deploy:
dep deployDeployer creates another release:
releases/
    1/
    2/
It builds release 2 while release 1 is still the current version. Only when the deployment reaches the publish step does current change:
current -> releases/2Then Supervisor restarts Gunicorn using release 2.
There can still be a very small interruption while Gunicorn restarts, so I wouldn't call this magically zero-downtime just because we're using Deployer. But the release itself is prepared separately instead of modifying the currently running code one file at a time, and that's already a big improvement.
What happens if pip install fails?
This is another reason I like release-based deployments. Imagine I accidentally add a broken package version to requirements.txt.
During deployment:
pip install -r requirements.txtFails.
Deployer stops. The important part is that we haven't reached:
deploy:publishSo current still points to the old release, and the website keeps running the previous code. That's much nicer than discovering halfway through a manual deployment that the live environment is now broken.
Rolling back a bad deployment
Let's say the deployment technically succeeds, but then I open the website and realise I've introduced a bug. Instead of SSHing into the server and trying to find the previous Git commit, I can run:
dep rollbackDeployer changes current back to the previous release. Because we added:
after('rollback', 'supervisor:restart');Gunicorn is restarted afterwards as well.
So if we had:
current -> releases/5It might become:
current -> releases/4And we're back on the previous code. That's a lot nicer than desperately typing Git commands into a production server while users are reporting that something is broken.
Rollback does not roll back your database
This deserves its own section because it's easy to misunderstand. Running:
dep rollbackRolls back the deployed code. It doesn't undo:
python manage.py migrateLet's say release 5 contains a migration that removes a field. Then we deploy release 5 and the database field disappears. If we roll the code back to release 4, the database is still using the release 5 schema.
If release 4 expects that field, we have a problem.
This isn't really a Deployer problem. It's something you need to consider with any deployment system. For bigger production applications, I try to make schema changes in smaller, backwards-compatible steps.
For example, instead of removing a field in the same release where I stop using it, I can stop using the field first and remove it in a later release. That gives me a much safer rollback window.
Seeing exactly what Deployer is doing
If something doesn't work, run Deployer with more verbosity:
dep deploy -vOr even more:
dep deploy -vvvInstead of only seeing the task names, you'll see much more of what Deployer is actually running on the server. That's normally the first thing I do when debugging a deployment.
Deploying another branch
Our configuration currently says:
->set('branch', 'main')So normal deployments use the main branch. But sometimes I want to test another branch.
Deployer lets you override configuration from the command line. For example:
dep deploy -o branch=my-new-featureI obviously wouldn't casually do that on production, but it's useful if you later create a staging server using the same deployment recipe.
Adding a staging server
This is where automating deployments starts becoming even more useful. We could have one host for production:
host('production')
    ->set('hostname', 'project-one.com')
    ->set('remote_user', 'deploy')
    ->set('deploy_path', '/var/www/myproject')
    ->set('branch', 'main')
    ->setLabels([
        'stage' => 'production',
    ]);
And another one for staging:
host('staging')
    ->set('hostname', 'staging.project-one.com')
    ->set('remote_user', 'deploy')
    ->set(
        'deploy_path',
        '/var/www/myproject-staging'
    )
    ->set('branch', 'develop')
    ->setLabels([
        'stage' => 'staging',
    ]);
Then we can deploy specifically to production or staging. That's much easier to manage than maintaining two separate lists of shell commands in my head.
What about automatically deploying when I push?
Once you have dep deploy working locally, you're actually very close to a proper CI/CD deployment. Instead of running the command from my laptop, GitHub Actions could run it whenever I push to main.
Then the workflow becomes:
git push
    |
    v
GitHub Actions
    |
    v
Deployer
    |
    v
UpCloud server
    |
    v
New Django release
I wouldn't start there though. I like getting the deployment working manually from my own computer first. Once I trust the process, moving the same command into CI/CD is pretty straightforward.
That's probably worth a separate article.
Is this overkill for a small Django project?
Maybe. If I deploy a tiny personal website twice per year, SSHing into the server and running five commands isn't exactly a disaster.
But as soon as I'm deploying regularly, I really like having the process automated. There's another benefit too: my deployment process now lives in the project.
I don't have to remember whether this project needed collectstatic, what the Supervisor process was called, or whether I had to run another command after migrations. It's all written down in deploy.php.
Six months from now, I can open the repository and see exactly how the project gets deployed.
My deployment workflow now
After setting everything up, my normal workflow becomes very simple. I work locally, run my tests, commit the changes, push them to Git and then run:
dep deployDeployer takes care of the repetitive part. If something fails while building the new release, the old release keeps running. If the new release goes live and contains a problem, I have:
dep rollbackThat's a much nicer deployment experience than manually changing the live application directory every time I want to release something.
Summary
There's nothing wrong with deploying Django manually. It's actually useful to do it manually first because you learn what's happening. But once I've deployed the same project a few times, I don't really want to keep typing the same commands.
That's where Deployer becomes useful.
We still use the same basic setup from the previous article. UpCloud gives us the server, Nginx handles incoming web traffic, Gunicorn runs Django and Supervisor keeps Gunicorn alive.
The difference is that Deployer now handles the release process. It downloads the code, creates the virtual environment, installs dependencies, runs Django's checks, runs migrations, collects static files, publishes the new release and restarts the application.
All of that happens from one command:
dep deployAnd if I need to go back:
dep rollbackI think that's a pretty nice upgrade from SSHing into production and running git pull every time.
If you want to try this setup yourself, you can create an UpCloud account using my link and get $250 in free credits.
That gives you plenty of room to create a server, break a few deployments, delete everything and start again. Which, at least for me, is normally the fastest way to learn this stuff.