What is Django?
Django is a backend framework based on Python. Django has been used to build many extremely websites like Disqus, Instagram, Mozilla and Pinterest. You can either build the entire website using Django where you render HTML and so on. But you can also use Django purely as an API. Using a package called Django rest framework, you'll be up and running in no time!
What is Vue.js?
Vue.js is a frontend framework based on JavaScript. Vue.js has also been used to build a lot of big and exciting projects. On this site (https://madewithvuejs.com/) you'll find a nice list of website.
How can I use Django and Vue.js together?
Just include the Vue.js script directly in a template
There are many ways to use Django and Vue.js together. The easiest way is to just include the Vue script in your html code. This makes it super easy to test it and if you just need Vue.js on a couple pages. But this way makes it harder to keep the Vue.js code well organized. Copy the line below and paste it in the head of your template:
<script src="https://cdn.jsdelivr.net/npm/vue"></script>
Once this is done you can start to create your Vue app and components. Try to do something like this:
<html>
<head>
<script src="https://unpkg.com/vue"></script>
<script>
new Vue({
  el: '#app',
  data: {
    message: 'Hello Vue.js!'
  }
})
</script>
</head>

<body>
<div id="app">
  <p>{{ message }}</p>
</div>
</body>
</html>
You might notice that when you run this the "message" will not show. This is because of the similar syntax between Django's template language and Vue. There is a very simple way of fixing this by changing the delimiters for the Vue app. Replace {{ message }} with [[ message ]] in the template and then add this line inside your script tag:
el: '#app',

delimiters: ['[[', ']]'],

data: {
Instead of [[ ]] you can use almost whatever you think is best for you, but [[ ]] is similar to {{ }}. So that causes me the least confusion at least. Now you're ready to start building your Django-Vue app :-)
Eventhough this implementation methos has some limitation, you will still be albe to build your own components and so on. The biggest drawback is the lack of possibility to create single file components.
If you want to try a whole tutorial with this approach, you can check out my How to build an e-commerce using Django and Vue video series.
Standalone Vue app using Vue CLI 3
Another way of intergrating Vue is to set up a standalone Vue instance on a separate server. This is done by setting up a Vue project using the CLI and pull data from your Django application using an API. To get started with this you need to install Vue using webpack:
$ sudo npm install -g @vue/cli
$ vue create django-vue
$ cd django-vue
$ npm run serve
Fill in the information of the project name, description, etc when you're prompted. "npm run serve" will start a webserver locally which you can test by opening http://localhost:8080/ in your favorite browser.
If you want to use the new Vue UI to create the Vue.js application, just start the UI by running "vue ui" in your command line.
You're now ready to start pulling data from your Django application. If you want to learn how to do this, just keep reading as this is shown later in this tutorial or check out my video Building a todo app using Vue.js and Django as the backend.
Django webpack loader
We can start by installing and creating a Django project.
virtualenv django-vue
cd django-vue
source bin/activate
pip3 install django django-webpack-loader
When this is done, you should have a fresh installation of Django and the Django webpack loader.
Set up the urls, folders and views
First, create a folder in the root of the django project called "templates".
Next, open "django-vue/settings.py" in your editor and add these two variables:
TEMPLATES_DIR = os.path.join(BASE_DIR, 'templates')
FRONTEND_DIR = os.path.join(BASE_DIR, 'frontend')
And further down in the same file, change the TEMPLATE list to look like this:
TEMPLATES = [
  {
    'BACKEND': 'django.template.backends.django.DjangoTemplates',
    'DIRS': [TEMPLATES_DIR,],
    'APP_DIRS': True,
    'OPTIONS': {
      'context_processors': [
      'django.template.context_processors.debug',
      'django.template.context_processors.request',
      'django.contrib.auth.context_processors.auth',
      'django.contrib.messages.context_processors.messages',
      ],
    },
  },
]
We need to do a couple of more changes to this file. Add "webpack_loader" inside your "INSTALLED_APPS":
INSTALLED_APPS = [
  'django.contrib.admin',
  'django.contrib.auth',
  'django.contrib.contenttypes',
  'django.contrib.sessions',
  'django.contrib.messages',
  'django.contrib.staticfiles',
  'webpack_loader',
]
And somewhere else inside the settings file, add this:
WEBPACK_LOADER = {
  'DEFAULT': {
  'CACHE': DEBUG,
  'BUNDLE_DIR_NAME': '/bundles/',
  'STATS_FILE': os.path.join(FRONTEND_DIR, 'webpack-stats.json'),
  }
}
Now we're going to create the base template for our Vue.js application. Create a new file inside the "templates" folder called "base.html". It should look like this:
{% load render_bundle from webpack_loader %}
<!DOCTYPE html>
<html>
  <head>
    <meta charset="utf-8">
    <title>Django <3 Vue.js</title>
  </head>

  <body>
    <div id="app">
      <app></app>
    </div>

    {% render_bundle 'app' %}

    <!-- built files will be auto injected -->
  </body>
</html>
We need to tell Django to render til html file when we go to the front page. Open up "django-vue/urls.py" in your editor. Change it to look like this:
from django.contrib import admin
from django.urls import path
from django.views.generic import TemplateView
urlpatterns = [
  path('admin/', admin.site.urls),
  path('', TemplateView.as_view(template_name='base.html'), name='app')
]
Now that everything on the backend is finished, we can start by integrating Vue.js to our Django project.
Go to the root of your Django application and write the following in your command line:
$ sudo npm install -g @vue/cli
$ vue create frontend
$ cd frontend
$ npm install --save-dev webpack-bundle-tracker
$ npm run serve
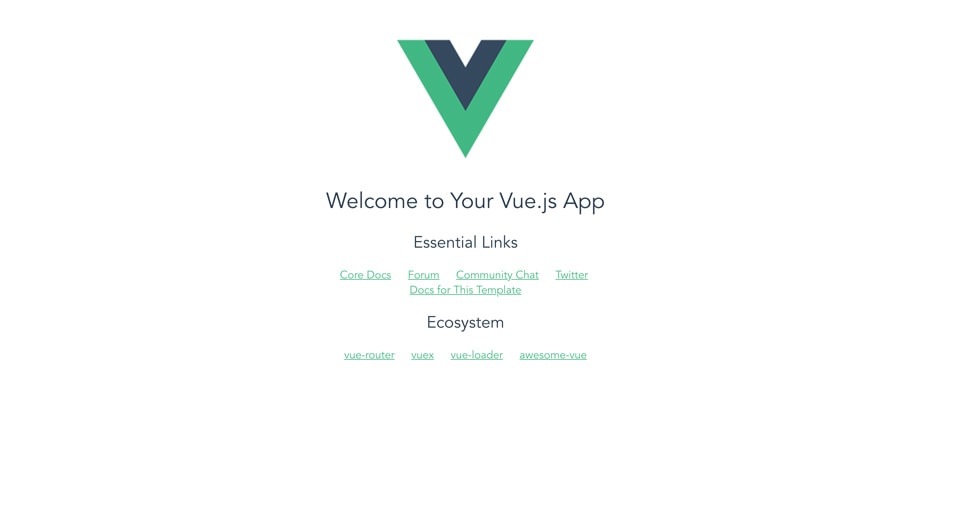
If you open your browser now and navigate to "http://localhost:8080", you should see the default Vue.js welcome screen
The last step of this implemenation method is to configure webpack and the dev server. Create a new file called "vue.config.js" and add the following code:
const BundleTracker = require("webpack-bundle-tracker");

module.exports = {
  publicPath: "http://0.0.0.0:8080/",
  outputDir: './dist/',

  chainWebpack: config => {

    config.optimization
      .splitChunks(false)

    config
      .plugin('BundleTracker')
      .use(BundleTracker, [{filename: '../frontend/webpack-stats.json'}])

    config.resolve.alias
      .set('__STATIC__', 'static')

    config.devServer
      .public('http://0.0.0.0:8080')
      .host('0.0.0.0')
      .port(8080)
      .hotOnly(true)
      .watchOptions({poll: 1000})
      .https(false)
      .headers({"Access-Control-Allow-Origin": ["\*"]})
  }
};
This might look a little bit complicated if you're not used to Webpack. Basically we're just telling the server where the other server is and we're configuring the bundle tracker plugin to generate the webpack-stats.json in the project frontend folder we created earlier.
Let's run the project :-D
Open up two terminals, and in the first one type the following command:
$ cd frontend
$ npm run serve
And in the second terminal, type this command:
$ python manage.py runserverIf you go back to the browser again now and navigate to "http://127.0.0.1:8000/" you should see the Vue.js welcome page instead of Django's welcome page. This means that the Vue.js application is being rendered through Django.
A very smart thing to remember when using Django webpack loader is that it's seemlessly integrated into your project and that means that you can still use Django's sessions, csrf and some more functionality. This makes authentication much simpler.
This is three different way of using Django and Vue together. I'm sure there are many more ways of doing it and there is no best way of doing it, you do what fits your project the best.
Getting data from Django using Vue.js and Axios
Let's build a simple todo application
- Setting up Django
- Setting up Vue
- Setting up django apps and models
- The basic structure of our vue app
- Getting the tasks
- Adding a task
- Setting a task as done
- Summary
Setting up Django
We'll be starting of this tutorial by installing and setting up Django. First we'll create a virtual
enviroment named "vuengo_env" (Vue + Django = Vuengo):
$ virtualenv -p vuengo_env
Running virtualenv with interpreter /Users/username/.pyenv/versions/3.5.0/bin/python3.5
Using base prefix '/Users/username/.pyenv/versions/3.5.0'
New python executable in djitter_env/bin/python3.5
Also creating executable in djitter_env/bin/python
Installing setuptools, pip, wheel...done.
The virtual environment should now be set up and you can go in and activate it:
$ cd vuengo_env
$ source bin/activate
The virtual environment is now activated and python command you run now only affects
code inside the virtual environment. So we'll now install django and django-cors-headers.
$ pip install django
Collecting django
Collecting pytz (from django)
Installing collected packages: pytz, django
Successfully installed django-2.0.5 pytz-2018.4

$ pip install djangorestframework
Collecting djangorestframework
Installing collected packages: djangorestframework
Successfully installed djangorestframework

$ pip install django-cors-headers
Collecting django-cors-headers
Installing collected packages: django-cors-headers
Successfully installed django-cors-headers-2.2.0
The reason we install django-cors-headers is to allow request done via Ajax. Without this we would get an
error in our browser. If you want to read more about django-cors-header you can check out their github page.
We're also installing djangorestframework which is used to handle the API requests, serialization and so on.
There are few more steps before the Django setup is finished. First thing you can do is to create the project and go in to it's directory by running:
$ django-admin.py startproject vuengo
$ cd vuengo
Inside the vuengo folder is a manage.py which is used to run the development server, connect to the shell and some more tasks.
Right now you don't need to worry about this. We need to make a few changes to the settings file, so open vuengo/settings.py
in your favorite editor. Add the following lines:
# Add 'corsheader' to the INSTALLED_APPS block:
INSTALLED_APPS = (
    ...
    'corsheaders',
    'rest_framework',
    ...
)

# Add this lines where you want
CORS_ORIGIN_ALLOW_ALL = True

# Add 127.0.0.1 to ALLOWED_HOSTS
ALLOWED_HOSTS = ['127.0.0.1']

# Add 'corsheaders.middleware.CorsMiddleware', over 'django.middleware.common.CommonMiddleware' in the MIDDLEWARE block:
MIDDLEWARE = [
    ...
    'corsheaders.middleware.CorsMiddleware',
    'django.middleware.common.CommonMiddleware',
    ...
We add 'corsheader' to the INSTALLED_APPS because Django needs to know that we want to use this app.
CORS_ORIGIN_ALLOW_ALL = True is there to tell Django that we accept connections from everywhere.
We can now try to run the django development server:
$ python manage.py makemigrations
$ python manage.py migrate
$ python manage.py runserver
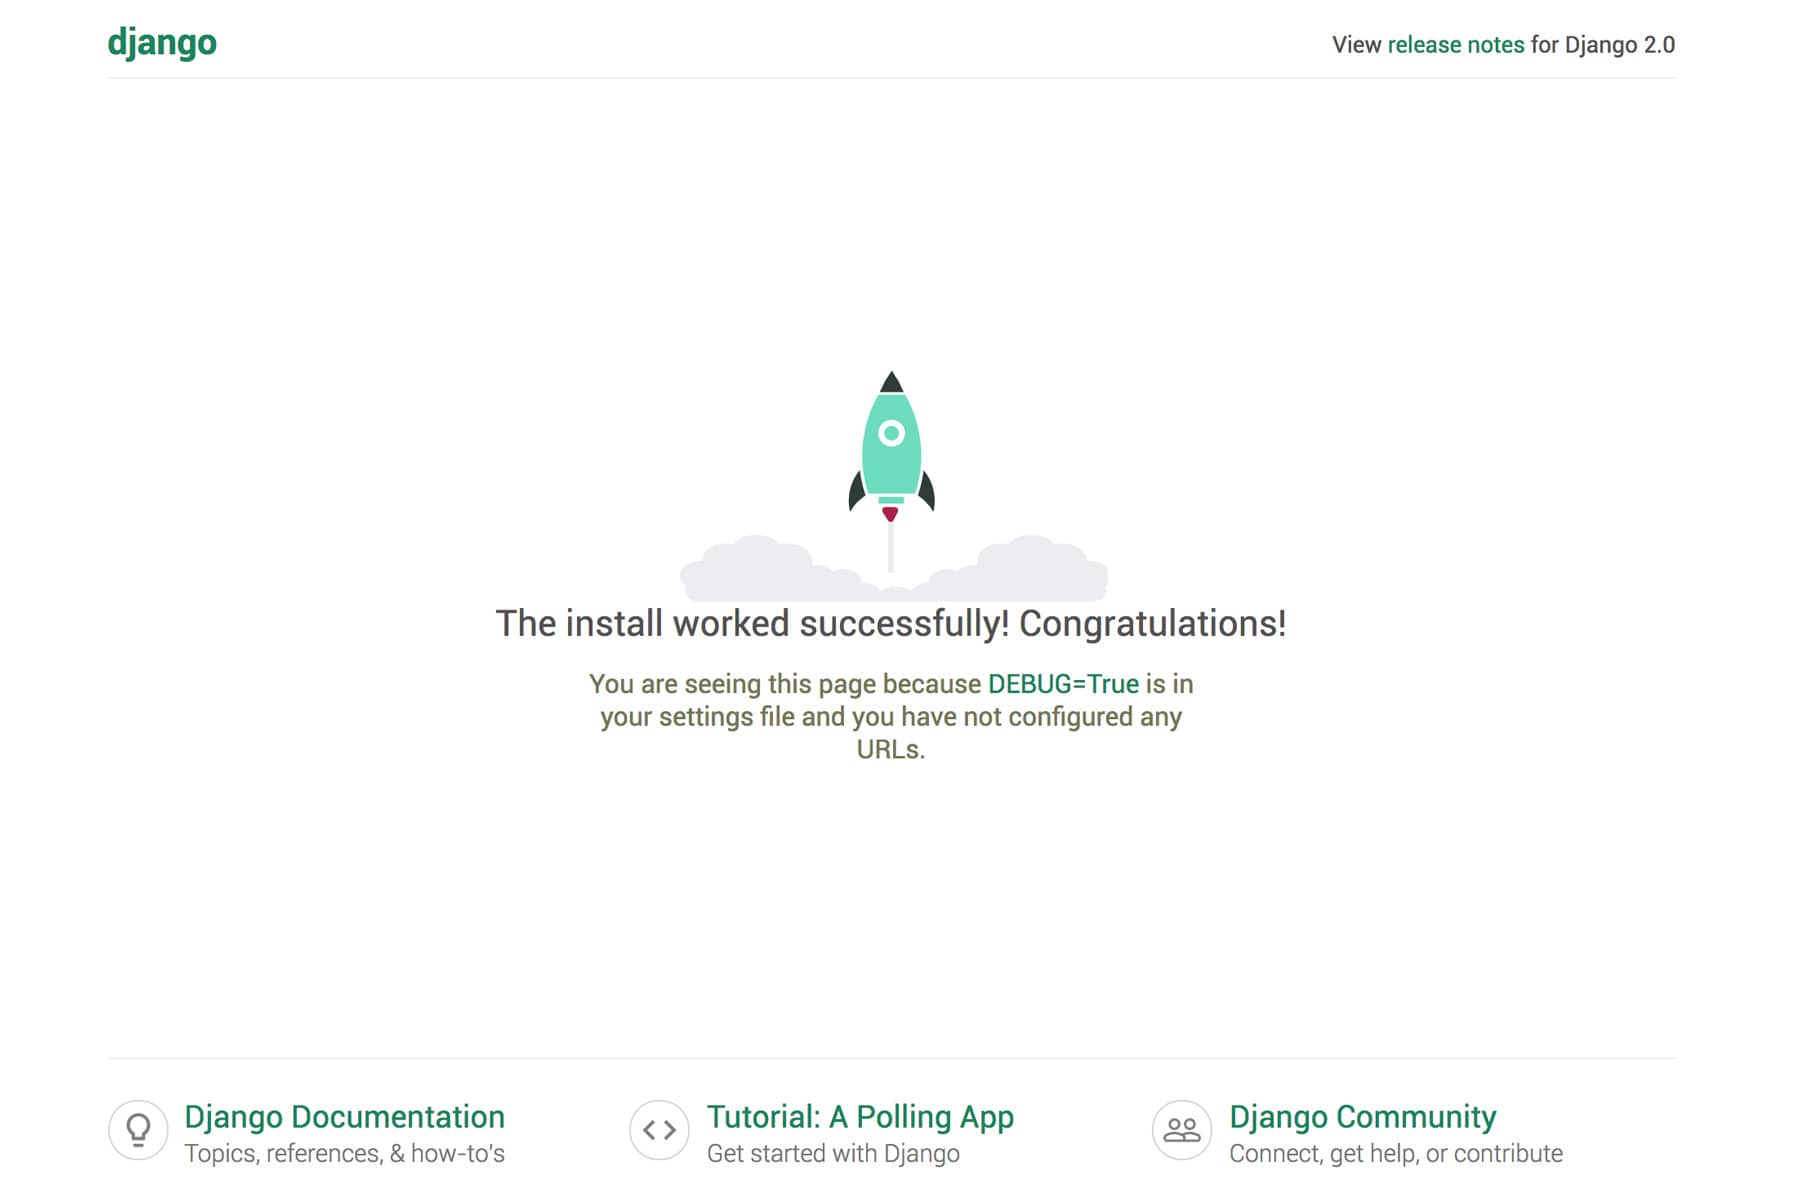
Go to your browser and open http://127.0.0.1:8000 and you will see something very similar to this. We need to create a admin
user so we can communicate with the database. Run this command:
$ python manage.py createsuperuser
Username (leave blank to use 'username'): admin
Email address: admin@example.com
Password: password123
Password (again): password123
Superuser created successfully.
Now Django should be working as we want it and we can continue to the next part.
Setting up Vue
In this part of the tutorial we're going to set up Vue by installing it and setting up a project using Vue CLI.
We are also going to be using this webpack boilerplate https://github.com/vuejs-templates/webpack
to make the set up as easy as possible. Write the following code in your command line:
$ sudo npm install -g @vue/cli
$ vue create vuengo
$ cd vuengo
$ npm run serve
Once you have created the project, opened the folder and run "npm run dev" you can open http://localhost:8080/ in you browser and you will see something like this.
To communicate with the backend we are going to use Axios. Install it by running:
npm install axios
The last part of setting up Vue is to open up index.html in your editor and modify it to look like this:
<!DOCTYPE html>
<html>
  <head>
    <meta charset="utf-8">
    <meta name="viewport" content="width=device-width,initial-scale=1.0">
    <title>vuengo</title>
    <link rel="stylesheet" href="https://cdnjs.cloudflare.com/ajax/libs/bulma/0.7.1/css/bulma.min.css">
  </head>
  <body>
    <section class="section">
      <div class="container">
        <div id="app"></div>
      </div>
    </section>
    <!-- built files will be auto injected -->
  </body>
</html>
I just made some changes to include Bulma css framework and added a container to wrap around our app. The Vue part of Vuengo is finished set up now and we're ready to go to the next part where we will start setting up the Django apps and models.
Setting up django apps and models
To keep things simple we just need one app in our Django project. We can call it "task", run this command:
$ python manage.py startapp task
Inside the new task folder are a couple of files. The two files we're going to use now is models.py, serializers.py and views.py.
Open those two files in your editor and modify them to look like this:
# models.py

from django.db import models

class Task(models.Model): # Our database model is called Task
    TODO = 'todo'
    DONE = 'done'

    STATUS_CHOICES = ( # We create a tuple of status choices
        (TODO, 'To do'),
        (DONE, 'Done')
    )

    description = models.CharField(max_length=255) # The tasks description is limited to 255 characters
    status = models.CharField(max_length=10, choices=STATUS_CHOICES, default=TODO) # The task's status, default status = TODO
# serializers.py

from rest_framework import serializers

from .models import Task

class TaskSerializer(serializers.HyperlinkedModelSerializer):
    class Meta:
        model = Task
        fields = ('id', 'description', 'status')
# views.py

from .models import Task # Import our Task model
from .serializers import TaskSerializer # Import the serializer we just created

# Import django rest framework functions

from rest_framework import viewsets
from rest_framework.authentication import BasicAuthentication
from rest_framework.permissions import IsAuthenticated

class TaskViewSet(viewsets.ModelViewSet): # Create a class based view
    """
    API endpoint that allows tasks to be viewed or edited.
    """
    authentication_classes = (BasicAuthentication,)
    permission_classes = (IsAuthenticated,)
    queryset = Task.objects.all() # Select all taks
    serializer_class = TaskSerializer # Serialize data
The model for describing our data to the database is finished and we've created a view for returning our tasks.
We need to tell our Django project about our task app, we do this by adding 'task' to settings.py just like
we did when we added 'corsheaders'.
Next step will be to add a couple of tasks to the database.
But first you need to add "task" to the INSTALLED_APPS inside "vuengo/settings.py".
$ python manage.py makemigrations # We need to create the database
$ python manage.py migrate # We need to create the database
$ python manage.py shell # Opens up a shell
$ from task.models import Task # Import the model
$ task1 = Task.objects.create(description='Description 1')
$ task2 = Task.objects.create(description='Description 2')
$ task3 = Task.objects.create(description='Description 3', status=1)
$ Task.objects.all() # Check if the tasks has been created
<QuerySet [<Task: Task object (1)>, <Task: Task object (2)>, <Task: Task object (3)>]> # Our three tasks
You can close the shell now. The last step to make the api/view accessible for the Vue app is to add api_get_tasks to the urls config.
So go ahead and open vuengo/urls.py in your editor and modify it to look like this:
from django.urls import path, include

from rest_framework import routers # Import the router

from task.views import TaskViewSet # Import the view we just created

router = routers.DefaultRouter() # Define the router with our view
router.register(r'tasks', TaskViewSet)

urlpatterns = [
    path('', include(router.urls)), # Add the view to the patterns
]
To test this we can run a CURL command. Test for your self by running this command:
$ curl -H 'Accept: application/json; indent=4' -u admin:password123 http://127.0.0.1:8000/tasks/
[
    {
        "id": 1,
        "description": "Description 1",
        "status": 'todo'
    },
    {
        "id": 2,
        "description": "Description 2",
        "status": 'todo'
    },
    {
        "id": 3,
        "description": "Description 3",
        "status": 'done'
    }
]
There you'll now got the json code for our tasks. This part is finished and we're now heading back to the Vue app again.
The basic structure of our vue app
Open up src/components/HelloWorld.vue in your editor and strip away some of the boilerplate code to
make it look like this:
<template>
  <div class="hello">

  </div>
</template>

<script>
export default {
  name: 'HelloWorld',
  data () {
    return {
    }
  }
}
</script>
This is just some basic html and a component initializer. We'll jump right to next step which is to create the html structure.
Modify the contents of HelloWorld.vue to look like this:
<template>
  <div class="hello">
    <h1 class="title">Vuengo</h1> <!-- Page title -->

    <hr>

    <div class="columns">
      <div class="column is-one-third is-offset-one-third"> <!-- Narrow centered column -->
        <form><!-- Form for adding tasks -->
          <h2 class="subtitle">Add task</h2>

          <div class="field"> <!-- Normal input field for the description -->
            <label class="label">Description</label>
            <div class="control">
              <input class="input" type="text">
            </div>
          </div>

          <div class="field"> <!-- Select field for choosing the status-->v
            <label class="label">Status</label>
            <div class="control">
              <div class="select">
                <select>
                  <option value="todo">To do</option>
                  <option value="done">Done</option>
                </select>
              </div>
            </div>
          </div>

          <div class="field is-grouped"> <!-- Submit button -->
            <div class="control">
              <button class="button is-link">Submit</button>
            </div>
          </div>
        </form>
      </div>
    </div>

    <hr>

    <div class="columns">
      <div class="column is-half"> <!-- Half of the column for todo tasks -->
        <h2 class="subtitle">Todo</h2>

        <div class="todo">
          <div class="card">
            <div class="card-content">
              <div class="content">
                Task description
              </div>
            </div>

            <footer class="card-footer">
              <a class="card-footer-item">Done</a> <!-- Button for setting a task to done -->
            </footer>
          </div>
        </div>
      </div>

      <div class="column is-half"> <!-- Half of the column for done tasks -->
        <h2 class="subtitle">Done</h2>

        <div class="done">
          <div class="card">
            <div class="card-content">
              <div class="content">
                Task description
              </div>
            </div>
          </div>
        </div>
      </div>
    </div>
  </div>
</template>

<script>
export default {
  name: 'HelloWorld',
  data () {
    return {
    }
  }
}
</script>

<style scoped>
.select, select { /* 100% width for the select */
  width: 100%;
}

.card { /* Adding some air under the tasks */
  margin-bottom: 25px;
}

.done { /* Make the done tasks a little bit transparent */
  opacity: 0.3;
}
</style>
Now we're ready to start pulling the tasks from the server and showing them. Head over to the next part and get started.
Getting the tasks
In the top of <script> inside HelloWorld.vue add this line to import Axios:
import axios from 'axios'
Replace the 'export default' with this one:
export default {
  name: 'HelloWorld',
  data () {
    return {
      tasks: [] // Array for holding the tasks
    }
  },
  mounted () { // This will be called when HelloWorld is loaded
    this.getTasks(); // Call our getTasks function below
  },
  methods: {
    getTasks() {
        axios({
            method:'get',
            url: 'http://127.0.0.1:8000/tasks/',
            auth: {
                username: 'admin',
                password: 'password123'
            }
        }).then(response => this.tasks = response.data);
    }
  }
}
That was all we needed to get our tasks from the backend and load them into an array. Now we need to make a few changes to the template in
order for it to show the tasks:
<div class="columns">
  <div class="column is-half">
    <h2 class="subtitle">Todo</h2>

    <div class="todo">
      <div class="card" v-for="task in tasks" v-if="task.status == 'todo'"> <!-- Loop through the tasks array, if status is 'todo' then we'll show it. -->
        <div class="card-content">
          <div class="content">
            {{ task.description }} <!-- Print the task's description here -->
          </div>
        </div>

        <footer class="card-footer">
          <a class="card-footer-item">Done</a>
        </footer>
      </div>
    </div>
  </div>

  <div class="column is-half">
    <h2 class="subtitle">Done</h2>

    <div class="done">
      <div class="card" v-for="task in tasks" v-if="task.status == 'done'"> <!-- Loop through the tasks array, if status is 'done'then we'll show it. -->
        <div class="card-content">
          <div class="content">
            {{ task.description }}
          </div>
        </div>
      </div>
    </div>
  </div>
</div>
If you open up the site (http://localhost:8080) in your browser now you should se two tasks to the left (to do) and one task in the right column which is done. Perfect :-)
Adding a task
First step is going to be a change to the Vue template. Change the to column to look like this:
<div class="columns">
  <div class="column is-one-third is-offset-one-third">
    <form v-on:submit.prevent="addTask"> <!-- v-on:submit.prevent="addTask" calls the function addTask on submit -->
      <h2 class="subtitle">Add task</h2>

      <div class="field">
        <label class="label">Description</label>
        <div class="control">
          <input class="input" type="text" v-model="description"> <!-- Connects this field to the description variable -->
        </div>
      </div>

      <div class="field">
        <label class="label">Status</label>
        <div class="control">
          <div class="select">
            <select v-model="status"> <!-- Connects this field to the status variable -->
              <option value="todo">To do</option>
              <option value="done">Done</option>
            </select>
          </div>
        </div>
      </div>

      <div class="field is-grouped">
        <div class="control">
          <button class="button is-link">Submit</button>
        </div>
      </div>
    </form>
  </div>
</div>
Inside the 'export default' we need to add two more properties to the data array. Make it look like this:
data () {
  return {
    tasks: [],
    description: '',
    status: 'todo'
  }
},
Last but not least, we need to create the addTask function that communicates with the server:
addTask() { // Function
  if (this.description) { // Check if the description is empty
    axios({
      method:'post',
      url: 'http://127.0.0.1:8000/tasks/',
      data: { // Send description and status to the server
        description: this.description,
        status: this.status
      },
      auth: { // Basic authentication
        username: 'admin',
        password: 'password123'
      }
    }).then((response) => {
      let newTask = {'id': response.data.id, 'description': this.description, 'status': this.status}

      this.tasks.push(newTask)

      this.description = '' // Reset description
      this.status = 'todo' // Reset status
    })
    .catch((error) => {
      console.log(error);
    });
  }
}
Vuengo is starting to look like a really simple task manager now. If you try to add a task it should be appended to the bottom of the tasks list.
Setting a task as done
Open HelloWorld.vue and hange the following line:
<!-- From -->
<a class="card-footer-item">Done</a>
<!-- To -->
<a class="card-footer-item" v-on:click="setStatus(task.id)">Done</a>
When you click 'Done', setStatus will be called and the task's id will be passed as a parameter to the function.
Next you can add a new function to the methods:
setStatus(task_id) {
  let description = '';

  for (let i = 0; i < this.tasks.length; i++) {
    if (this.tasks[i].id === task_id) {
      this.tasks[i].status = 'done'
      description = this.tasks[i].description

      break
    }
  }

  axios({
    method:'put',
    url: 'http://127.0.0.1:8000/tasks/' + task_id + '/',
    headers: {
      'Content-Type': 'application/json'
    },
    data: {
      description: description,
      status: 'done'
    },
    auth: {
      username: 'admin',
      password: 'password123'
    }
  })
}
If you now click 'Done' on one of the tasks a request will be sent to the server where the status will be updated. The task will also automatically be moved to the other column.
There are now a ton of things you can do to improve this task manager and here are a few ideas:
-Undo a task
-Structuring code with components
-Delete a task
-Change description
-Better sorting
-More statuses
-Security
Summary
When you've now gone through this whole tutorial, you should know everything you need to continue developing Django and Vue.js applications. You probably didn't become an expert from this tutorial alone, but at least you know three different ways to combine Vue.js and Django.
I really hope you enjoyed it, and if there's anything unclear or just something you want to ask me, feel free to leave a comment below and I'll answer it as soon as I can.