Table of contents
- Introduction
- Setup and installation
- The front page
- Chat page
- Storing messages
- Scrolling to the bottom
- Video
Introduction
In this tutorial, you will learn how to build a simple chat application from scratch using Django as the backend. To connect with the backend, I use Web Sockets (Vanilla JavaScript). To add async support to Django, I use Channels.
Redis is used as a in-memory cache for Channels. This can be skipped if you want, and use regular in-memory cache instead.
So that's basically what we're building. Let's open up a command line and get started!
Setup and installation
Let's begin with setting up the environment we're working in and activate it.
$ virtualenv chatty_env
$ source chatty_env/bin/activate
I always recommend using virtual environments for you projects. This makes it easier to maintain later, it's easier to deploy and similar.
Now that the environment is activated, we can install Django into. All packages we now install using pip, will only be available for this environment.
$ pip install djangoThis will install the latest stable version of Django and a few dependencies.
Great, but we also need a few more packages.
$ pip install channels channels_redisSo, what is Channels?
To quote the creators of it:
"Channels wraps Django’s native asynchronous view support, allowing Django projects to handle not only HTTP, but protocols that require long-running connections too."
Redis is used as a backing store for Channels. Like an in-memory cache.
And the last thing we need to install is a Redis server.
I'm going to use Docker for this to make things as simple as possible.
If you don't have docker installed on your computer, you need to install it before you can continue.
When you have docker running, you can run this command to start the redis server:
$ docker run -p 6379:6379 -d redis:5Perfect, all of the software is installed and we can create the Django project.
$ django-admin startproject chatty
$ cd chatty
I want to have one Django app for storing the messages, serving the templates etc.
$ python manage.py startapp chatBefore I forget it, I just want to add the app to the list of installed apps in the settings file.
'chat',And since we're here, we can add 'channels' as well to the list.
'channels'And we can also configure Redis and tell Django which ASGI_APPLICATION to use, so everything there is okay.
ASGI_APPLICATION = "chatty.asgi.application"
CHANNEL_LAYERS = {
    'default': {
        'BACKEND': 'channels_redis.core.RedisChannelLayer',
        'CONFIG': {
            "hosts": [('127.0.0.1', 6379)],
        },
    },
}
The front page
Okay, let's create the frontpage where we can select chat room and fill in our username.
Inside the chat app, create a new folder called "templates", and a folder called "chat" inside there.
Then inside there, a file called "index.html".
<!DOCTYPE html>
<html>
<head>
<meta charset="utf-8"/>
<title>Chatty</title>
<!-- Include Bulma CSS framework -->
<link rel="stylesheet" href="https://cdn.jsdelivr.net/npm/bulma@0.9.2/css/bulma.min.css">
</head>
<body>
<section class="section">
<div class="container">
<div class="columns is-multiline">
<div class="column is-6 is-offset-3 mb-6">
<section class="hero is-primary">
<div class="hero-body">
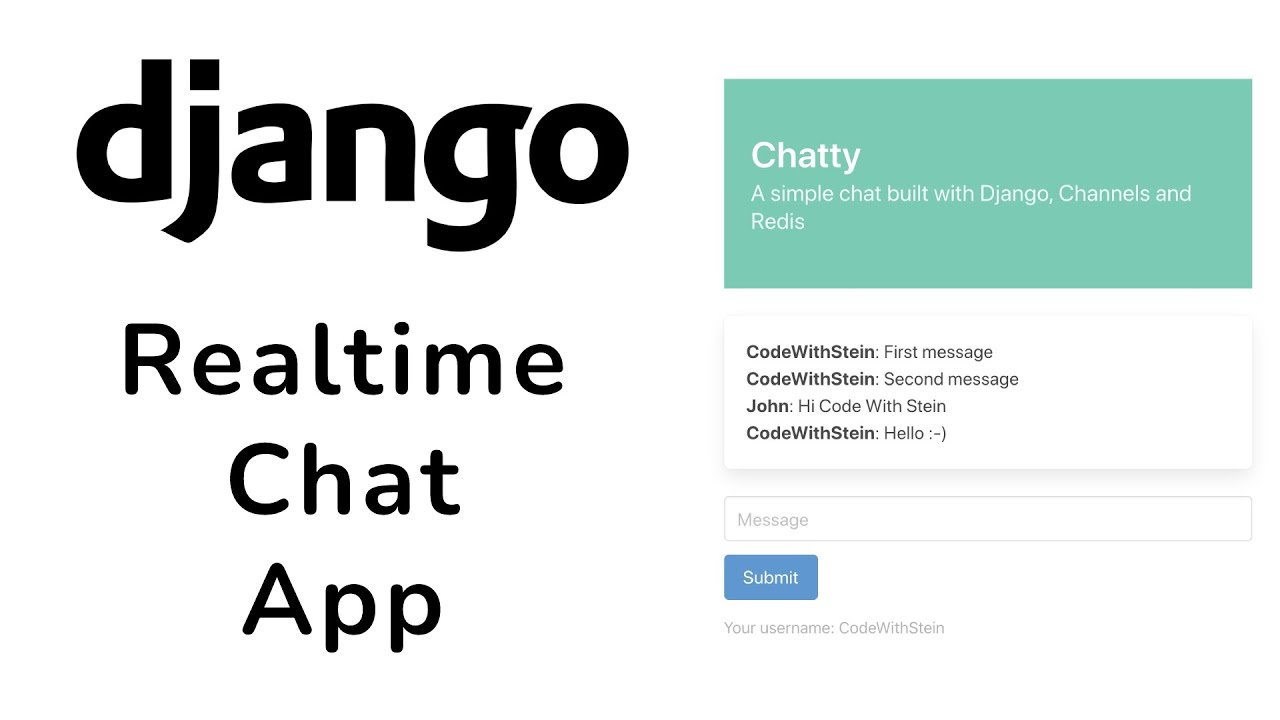
<p class="title">Chatty</p>
<p class="subtitle">A simple chat built with Django, Channels and Redis</p>
</div>
</section>
</div>
<div class="column is-4 is-offset-4">
<div class="field">
<label>Room name</label>
<div class="control">
<input class="input" type="text" placeholder="Room name" id="room-name-input">
</div>
</div>
<div class="field">
<label>Username</label>
<div class="control">
<input class="input" type="text" placeholder="Username" id="username-input">
</div>
</div>
<div class="field">
<div class="control">
<a class="button is-info" id="room-name-submit">Submit</a>
</div>
</div>
</div>
</div>
</div>
</section>
<script>
</script>
</body>
</html>Let's also create a view to render this (chat/views.py)
def index(request):
  return render(request, 'chat/index.html')
Then to access this, we create a new file called "urls.py" in the chat folder.
from django.urls import path

from . import views

urlpatterns = [
  path('', views.index, name='index'),
]
Then we just need to include this in the main urls.py file inside the chatty folder.
from django.contrib import admin
from django.urls import path, include

urlpatterns = [
  path('admin/', admin.site.urls),
  path('', include('chat.urls')),
]
Great, let's run the webserver, and open up http://127.0.0.1:8000 in your browser to see the results.
Let's add some functionality to the index page to handle the room name and user name.
// Automatically set the focus to the room name input
document.querySelector('#room-name-input').focus();

// If you hit "enter" on the keyboard, trigger the click method
document.querySelector('#room-name-input').onkeyup = function(e) {
  if (e.keyCode === 13) {
    document.querySelector('#room-name-submit').click();
  }
};

// When you submit the form, redirect the user to the room page
document.querySelector('#room-name-submit').onclick = function(e) {
  var roomName = document.querySelector('#room-name-input').value;
  var userName = document.querySelector('#username-input').value;

  window.location.replace(roomName + '/?username=' + userName);
};
So when you click the submit button, you will be redirected to the chat page and the username will also be added to the url.
Nothing inside the room is ready yet.
Chat page
Let's begin with the view for this (chat/views.py)
def room(request, room_name):
  username = request.GET.get('username', 'Anonymous')

  return render(request, 'chat/room.html', {'room_name': room_name, 'username': username})
Now we have a view for the rooms. This will make it possible to get the room name and username in the frontend.
We can also add this to the urlpatterns as well.
path('/', views.room, name='room'), Next step is to create a basic template.
Create a new file called 'room.html'
<!DOCTYPE html>

<html>
  <head>
    <meta charset="utf-8"/>
    <title>Chatty</title>
    <link rel="stylesheet" href="https://cdn.jsdelivr.net/npm/bulma@0.9.2/css/bulma.min.css">
  </head>

  <body>
    <section class="section">
      <div class="container">
        <div class="columns is-multiline">
            <div class="column is-6 is-offset-3">
              <section class="hero is-primary">
                <div class="hero-body">
                  <p class="title">Chatty</p>
                  <p class="subtitle">A simple chat built with Django, Channels and Redis</p>
                </div>
              </section>
            </div>

            <div class="column is-6 is-offset-3">
              <div class="box">
                <div id="chat-messages">
                </div>
              </div>

              <div class="field">
                <div class="control">
                  <input class="input" type="text" placeholder="Message" id="chat-message-input">
                </div>
              </div>

              <div class="field">
                <div class="control">
                  <a class="button is-info" id="chat-message-submit">Submit</a>
                </div>
              </div>

              <small class="has-text-grey-light">Your username: {{ username }}</small>
            </div>
          </div>
       </div>
    </section>

    <script>
    </script>
  </body>
</html>
It doesn't have any functionality yet, but at least it showing your username and a few other things.
Above the script tags, I want to make it easy to access the username and room name for javascript.
{{ room_name|json_script:"json-roomname" }}
{{ username|json_script:"json-username" }}
Great, this will create a script tag with the information we need.
Next, we can create two variables inside the script tag to get this information.
const roomName = JSON.parse(document.getElementById('json-roomname').textContent);
const userName = JSON.parse(document.getElementById('json-username').textContent);
Now we've made a little bit of progress for the frontend and it's time to make some changes in the backend.
To communicate between the frontend with sockets and the backend, we need to create a consumer in the chat app.
So let's create a new file called "consumers.py"
import json

from channels.generic.websocket import AsyncWebsocketConsumer # The class we're using
from asgiref.sync import sync_to_async # Implement later

class ChatConsumer(AsyncWebsocketConsumer):
  async def connect(self):
    self.room_name = self.scope['url_route']['kwargs']['room_name']
    self.room_group_name = 'chat_%s' % self.room_name

    # Join room group
    await self.channel_layer.group_add(
      self.room_group_name,
      self.channel_name
    )

    await self.accept()

  async def disconnect(self, close_code):
    # Leave room group
    await self.channel_layer.group_discard(
      self.room_group_name,
      self.channel_name
  )
Next step is to set up the routing for this.
It's the same thing as the usual urls.py file, but I want it specific for the web socket routes.
Create a new file called "routing.py
from django.urls import path

from . import consumers

websocket_urlpatterns = [
  path('ws//', consumers.ChatConsumer.as_asgi()), # Using asgi
]
Open up "chatty/asgi.py
import os

from channels.auth import AuthMiddlewareStack
from channels.routing import ProtocolTypeRouter, URLRouter
from django.core.asgi import get_asgi_application

import chat.routing

os.environ.setdefault('DJANGO_SETTINGS_MODULE', 'chatty.settings')

application = ProtocolTypeRouter({
  "http": get_asgi_application(),
  "websocket": AuthMiddlewareStack(
    URLRouter(
      chat.routing.websocket_urlpatterns
    )
  )
})
Things are becoming a little bit complicated now, but I hope it's possible to follow along.
Next step now is to add more functionality to the script inside room.html to connect to the server,
const chatSocket = new WebSocket(
  'ws://'
  + window.location.host
  + '/ws/'
  + roomName
  + '/'
);

chatSocket.onmessage = function(e) {
  console.log('onMessage');
};

chatSocket.onclose = function(e) {
  console.error('The socket closed unexpectedly');
};
Before we test this, we need to initialize the database where the sessions are stored.
$ python manage.py makemigrations
$ python manage.py migrate
We can also add the javascript for sending and receiving messages.
chatSocket.onmessage = function(e) {
  const data = JSON.parse(e.data);

  if (data.message) {
    document.querySelector('#chat-messages').innerHTML += ('' + data.username + ': ' + data.message + '
');
  } else {
    alert('The message was empty!')
  }
};

document.querySelector('#chat-message-input').focus();
document.querySelector('#chat-message-input').onkeyup = function(e) {
  if (e.keyCode === 13) {
    document.querySelector('#chat-message-submit').click();
  }
};

document.querySelector('#chat-message-submit').onclick = function(e) {
  const messageInputDom = document.querySelector('#chat-message-input');
  const message = messageInputDom.value;

  chatSocket.send(JSON.stringify({
    'message': message,
    'username': userName,
    'room': roomName
  }));

  messageInputDom.value = '';
};
Now everything in the frontend should be ready.
But there's still some thing that needs to be done in the backend.
# Receive message from WebSocket
async def receive(self, text_data):
  data = json.loads(text_data)
  message = data['message']
  username = data['username']
  room = data['room']

  # Send message to room group
  await self.channel_layer.group_send(
    self.room_group_name,
    {
      'type': 'chat_message',
      'message': message,
      'username': username
    }
  )

# Receive message from room group
async def chat_message(self, event):
  message = event['message']
  username = event['username']

  # Send message to WebSocket
  await self.send(text_data=json.dumps({
    'message': message,
    'username': username
  }))
So if we test now in two windows, we should be able to talk to eachother.
The problem now is that if we refresh, the messages are gone.
Or if you open one more window, the messages is also gone.
To fix this, we need to store the messages in a database.
Storing messages
from django.db import models

class Message(models.Model):
  username = models.CharField(max_length=255)
  room = models.CharField(max_length=255)
  content = models.TextField()
  date_added = models.DateTimeField(auto_now_add=True)

  class Meta:
    ordering = ('date_added',)
We also need to get the messages in the view.
# Import the messages model
from .models import Message

# Get the messages from the database
messages = Message.objects.filter(room=room_name)[0:25]

# Add the messages to the context
'messages': messages
And we need to add them to the template:
{% for m in messages %}<b>{{ m.username }}</b>: {{ m.content }}<br>{% endfor %}So now we get the messages there, but we also need to store them when their sent.
from .models import Message

@sync_to_async
def save_message(self, username, room, message):
  Message.objects.create(username=username, room=room, content=message)
# Place this line:
await self.save_message(username, room, message)
# Above this line
await self.channel_layer.group_send(Scrolling to the bottom
<!-- Change the style attribute -->
<div id="chat-messages" style="max-height: 300px; overflow-y: scroll;">
And add some JavaScript:
/**
 * A function for findind the messages element, and scroll to the bottom of it.
 */
function scrollToBottom() {
    let objDiv = document.getElementById("chat-messages");
    objDiv.scrollTop = objDiv.scrollHeight;
}

// Add this below the function to trigger the scroll on load.
scrollToBottom();
And then add this line at the bottom of this function (chatSocket.onmessage = function(e)) to trigger the scroll after a message is sent:
scrollToBottom();And that was it for this time.
I hope you liked this tutorial and if you want more content like this, please subscribe to my channel and remember to click the bell.